How to Make a Quarter Square Triangle
Here is How to Make a QST (Quarter Square Triangle Quilt Block) from HSTs (Half Square Triangle Quilt Blocks)
Use the green Print button under this article to print this page. If that doesn’t work, try Ctrl-P or Flower-P. That should bring up the Printer Dialog box.
QST blocks start with Half Square Triangle (HST) blocks. The Traditional Method of making HSTs is to place a dark square right sides together with a light square. Draw a diagonal line on the back of one dark. You will have made two Half-Square Triangle blocks. Don’t square these up just yet.
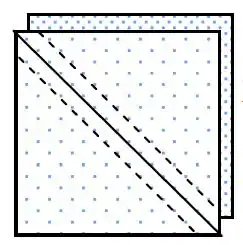
My personal preference is to make the original squares slightly too large and then square up the HST. However you are making Quarter Square Triangles (QSTs) using these HSTs so you may prefer to skip this step. Make a test block using both methods to see which gives you the best results.
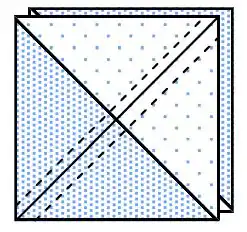
To make a QST, lay (2) HSTs right sides together with opposite colors touching. Draw a diagonal line on the back of the top HST going through the seam. Sew 1/4″ on either side of this seam. Set your seam by pressing the sewn block, then cut it apart on the diagonal line.
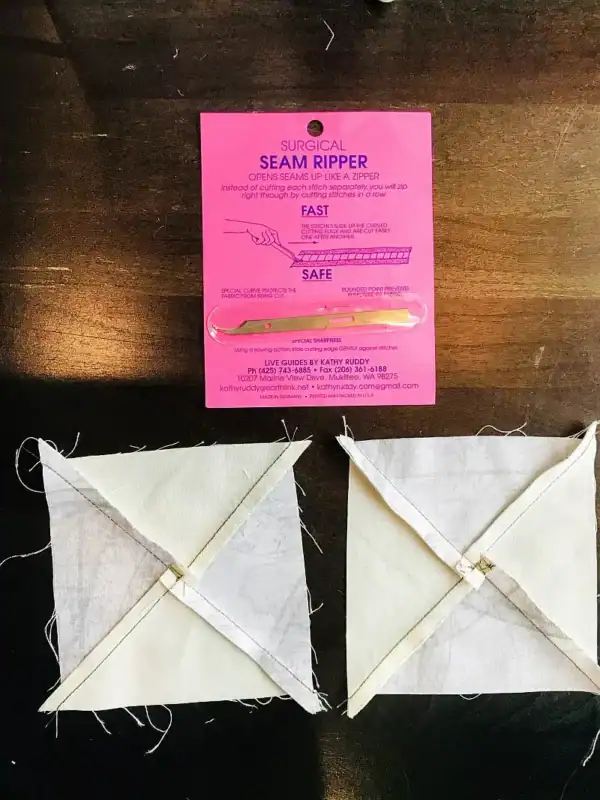
Before you square up this block, here is a trick that will help you reduce bulk anywhere you have an intersection. Finger press open the center seam, then pick a couple of stitches out of the center. It won’t unravel because the second seam will hold it.
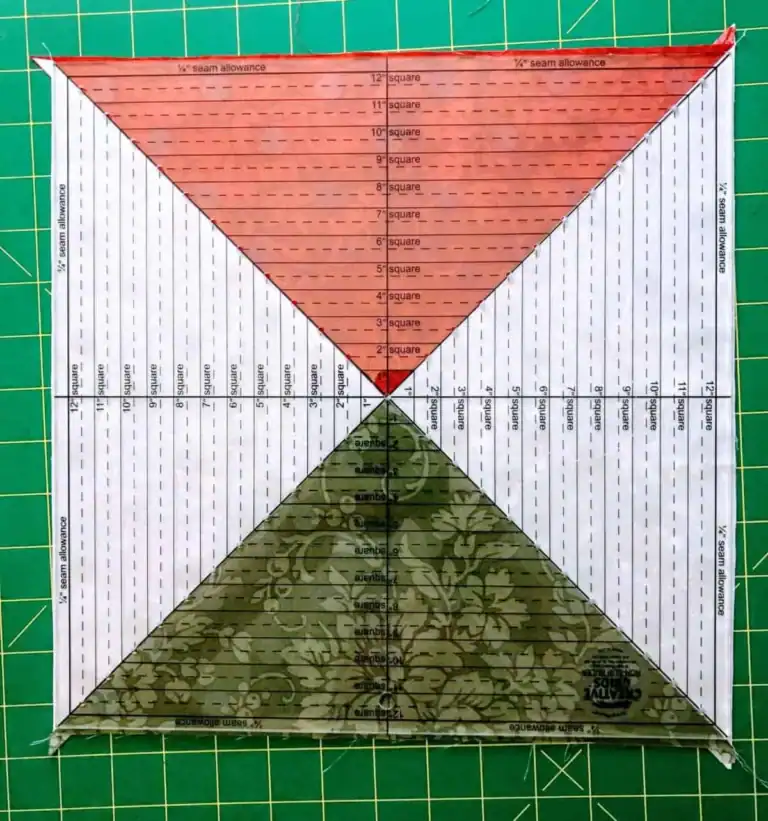
Push two of the seams in opposite directions so each seam covers one patch. You know you have done it right if the seam twirls around the intersection, giving you a tiny four patch in the middle.
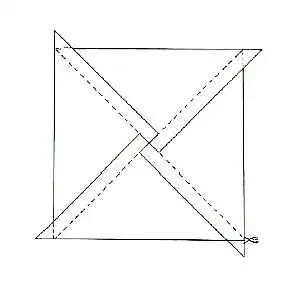
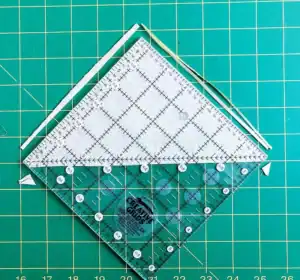
There are two ways you can square up your block. If you have a square ruler of the size that you are making, place the diagonal line of a square ruler on the sewing line of the triangle. By cutting the two sides of the ruler, you are automatically squaring up the HST block before opening and pressing it.
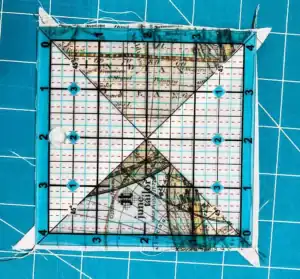
Or you can press open the block (pressing to the dark) and square it up using a ruler the same size as the block you are making. A fussy-cut ruler with lines on both diagonals will be very helpful with this.
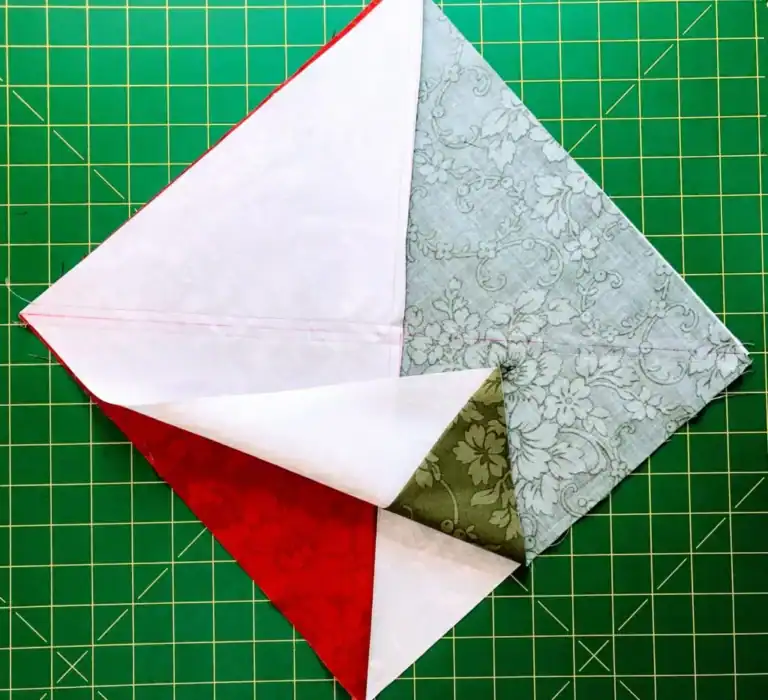
Yes, you can make a QST with two different colored sides just by using two different colored HSTs. Here are images from a Snail Trail Tutorial:
Other Methods of Making QST Quilt Blocks
- The Bias Beauty Method (from 4 patch blocks)
- The Bias Beauty Method (from strips)
- Three Color
- Three Color QST (using a Tucker Trimmer)
- Split QST
- Four Color (four triangles)