How to Use a Twister Ruler to Make a Heart Quilt
Use the green Print button under this article to print this page. If that doesn’t work, try Ctrl-P or Flower-P. That should bring up the Printer Dialog box.
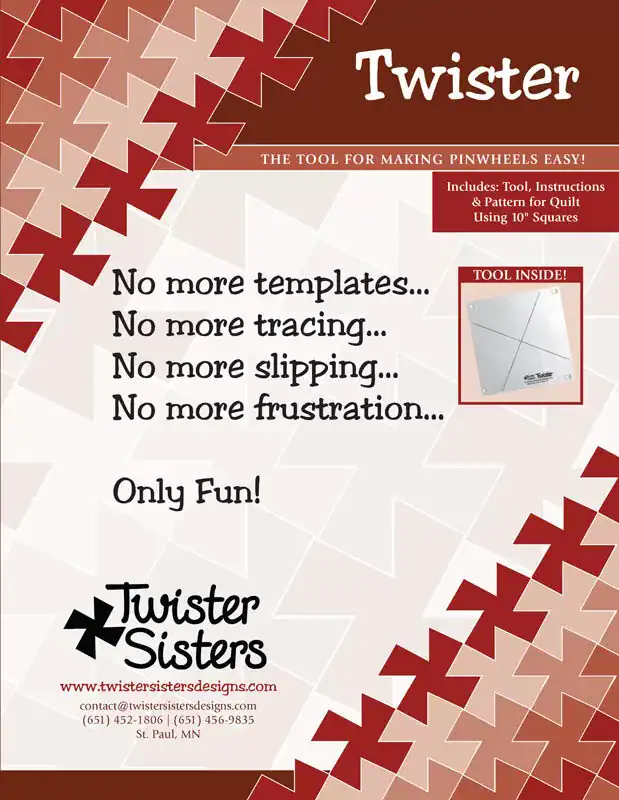
The Twister Ruler Tool
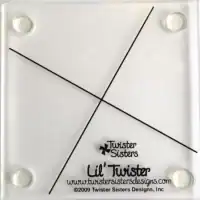
The Twister Ruler is a see-through ruler with only two lines. This ruler sits on two feet and is designed to fussy cut a sewn quilt top by being placed so the lines align with the lines with the seams of the block intersections. The twisted design is created by cutting around the ruler, then sewing 4 related blocks together. (See tutorial below.)
Besides the twisted design, it also creates leftover squares that can be used in a border or for another project.
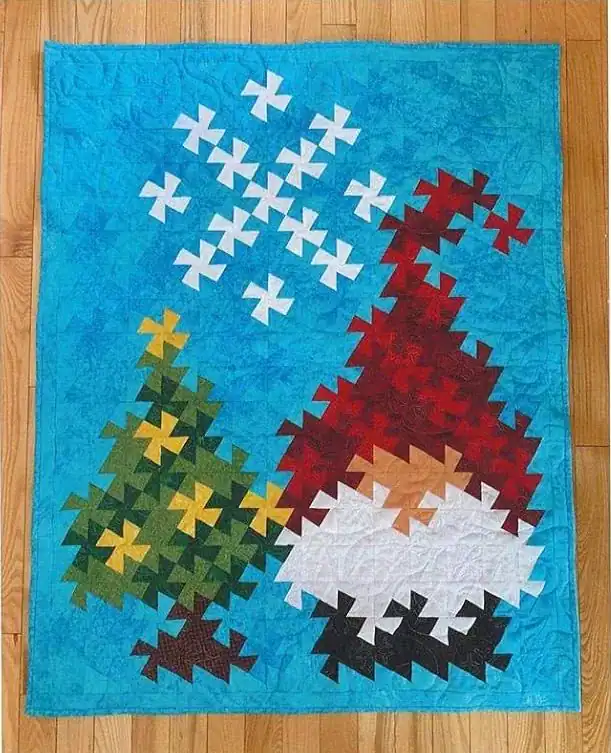
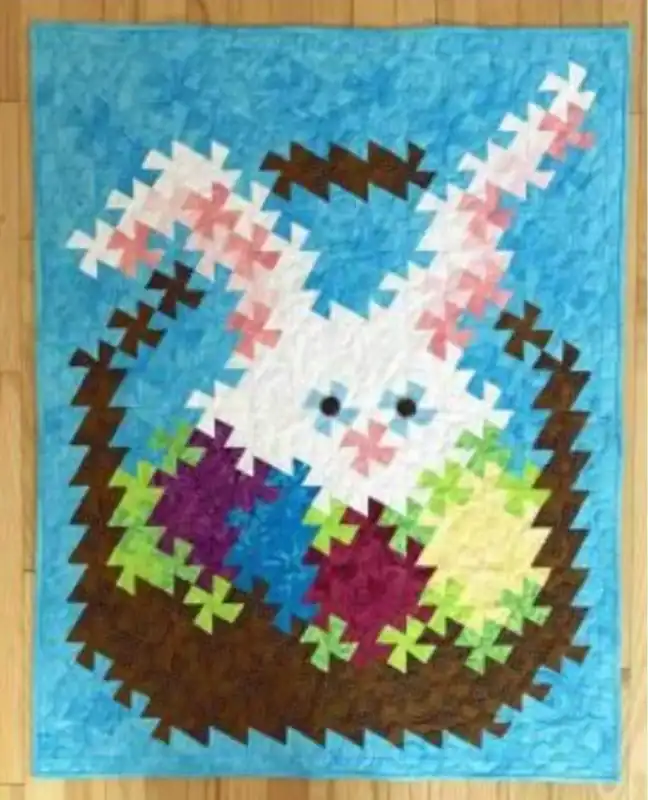
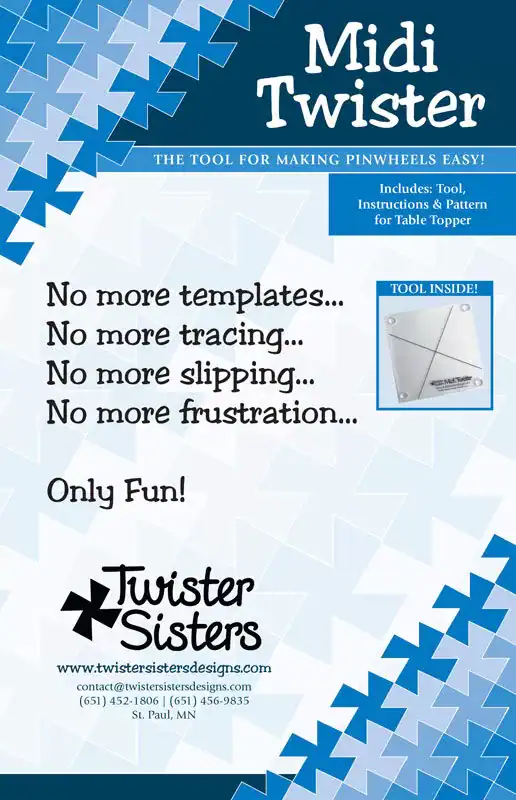
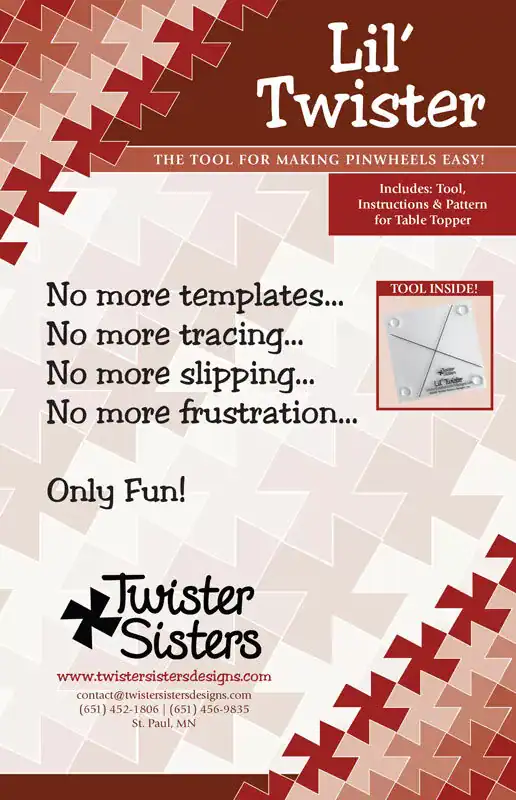
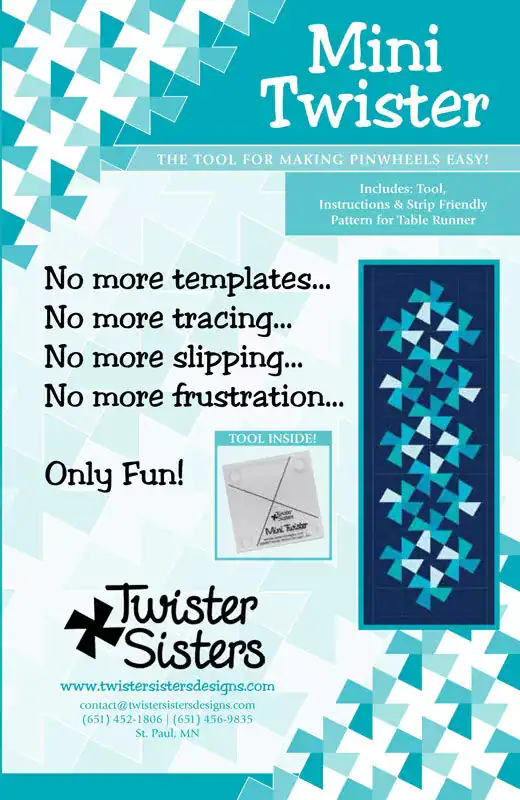
There are several sizes of Twister Rulers. They use different-sized squares, so they create quilts of varying sizes. There are also a number of patterns and books that support these rulers.
4-1/2″ squares.
2″ squares
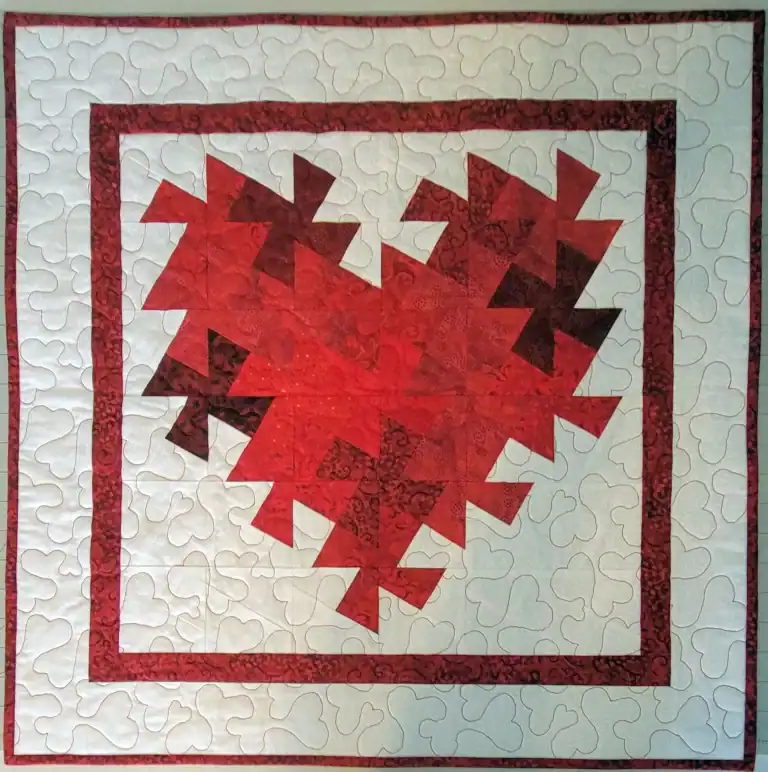
Making a Twisted Heart MiniQuilt
You will need:
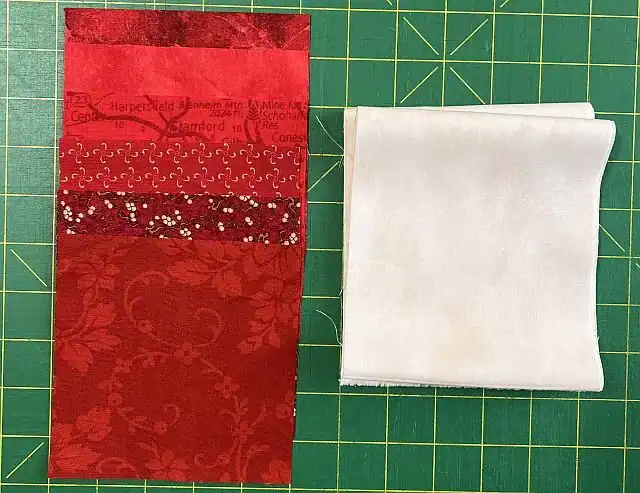
- (18) 5″ squares of various reds and pinks
- 3/4 yard background fabric
- 2/3 yard red fabric for little border and binding
- 1/3 yard fabric for outer border
- a Lil Twister ruler (for 5″ squares. If you are using a different size, choose the correct ruler above.)
- a small (18mm or 28mm) rotary cutter for the smaller ruler sizes
- a light starch like Best Press
- thin pins, like Clover Patchwork pins
First You Sew, Then You Cut
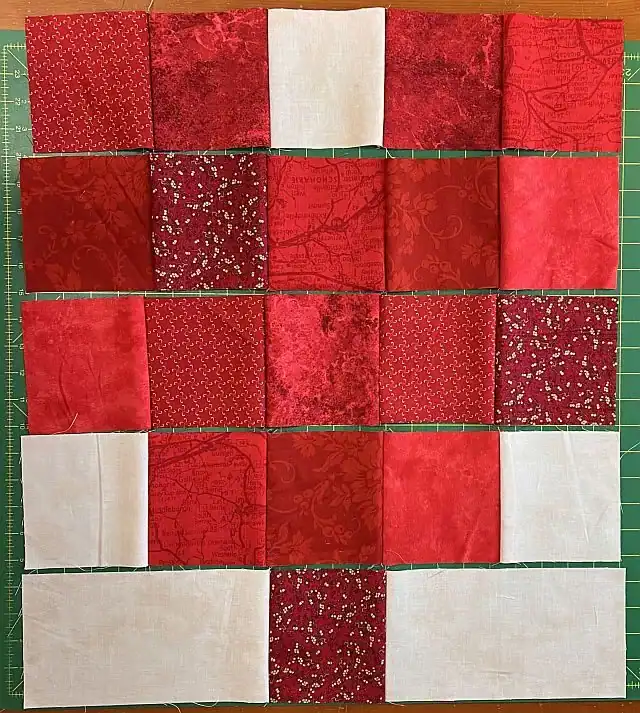
The design of quilt top you are cutting will dictate the design of the finished piece. This quilt is made from (18) red squares and (7) background squares, plus a 3″ border. Notice that the background in the bottom row wasn’t pieced – that was an experiment on my part. It failed miserably. Learn from my mistake. There is nothing odd about sewing a background square to a background square when it gives you a seam line you can use to place your ruler properly.
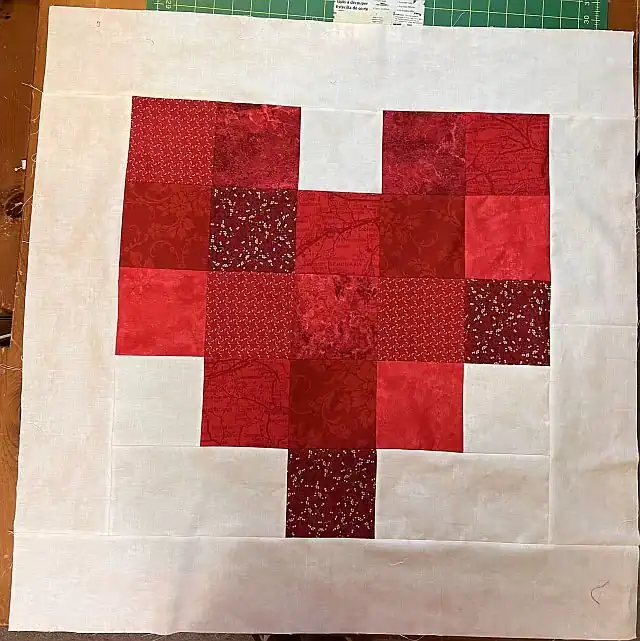
The Lil Twister creates blocks that are 3-1/2″ square. Sewing (5) blocks together in a (5) rows will make a 15-1/2″ x 15-1/2″ square. So your side Background borders will be 3-1/2″ x 15-1/2″ and your top and bottom borders will be 3-1/2″ x 22-1/2″. Press to the border.
When sewing on the border, be sure to match the center of the border strip with the center of the quilt top and ease to fit. If you just add a border without pre-measuring, your top may end up uneven and will not cut properly. It needs to lay absolutely flat. If you are not completely confident of your 1/4″ seam, measure your top through the center and use that measurement to cut the borders.
When sewing these blocks together, use red thread for the red blocks and white thread for the white ones. If you press the seams open, you fill find it easier to cut and piece later on.
Give your top one final press, using a spray starch. When you cut it apart, the resulting blocks will be on the bias. The starch will help keep the edges from distorting.
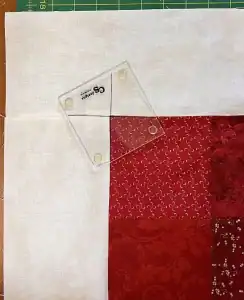
Starting at the upper left-hand corner, lay the ruler on your quilt top, twisting it so that the lines on the ruler align with the seams of the top. Cut around the ruler, using a 28mm rotary cutter if available.
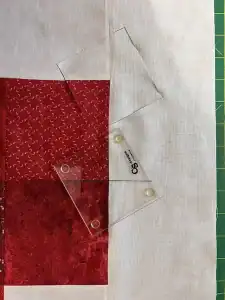
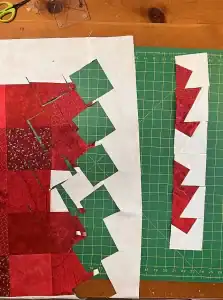
Your first twister blocks will only have parts of three blocks from the top as it will contain part of the border. The rest will have parts from four blocks. Since you are fussy cutting, you *will* have fabric left over between the blocks you are cutting. If you are careful with your cutting, you may end up with 20 – 25 pieces of fabric that you can cut into 2-1/2″ squares. Can you use these in a border, or on the back in a hanging sleeve? How about making something with the Itty Bitty Twister ruler?
Continue cutting across the quilt top. When the top is completely cut apart, you will have (36) 3-1/2″ square blocks. I suggest moving them to the top of the cutting board and sewing each row as you cut it. It’s VERY easy to get the design mixed up if you try to do them all at once. Remember, these blocks are on the bias. Don’t be afraid to use pins to keep everything straight. Keep pressing the seam open.
Then You Sew Again
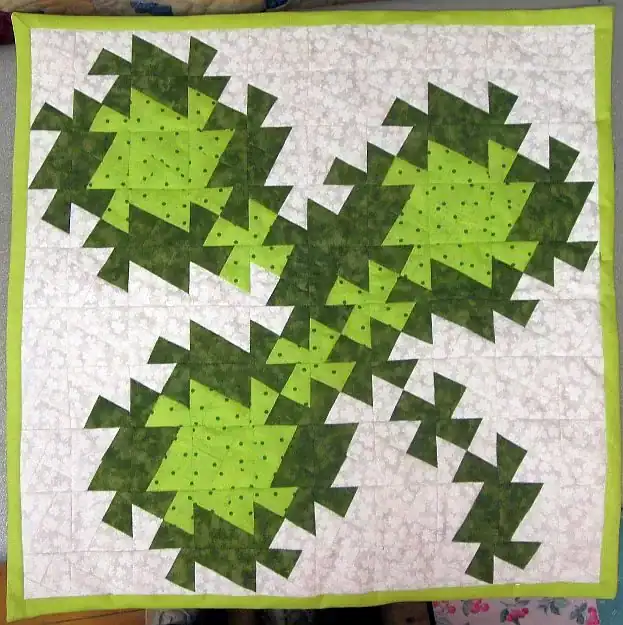
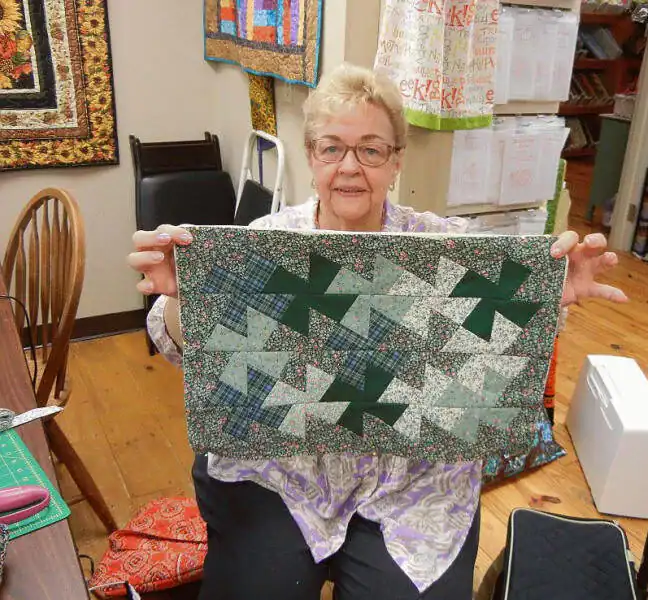
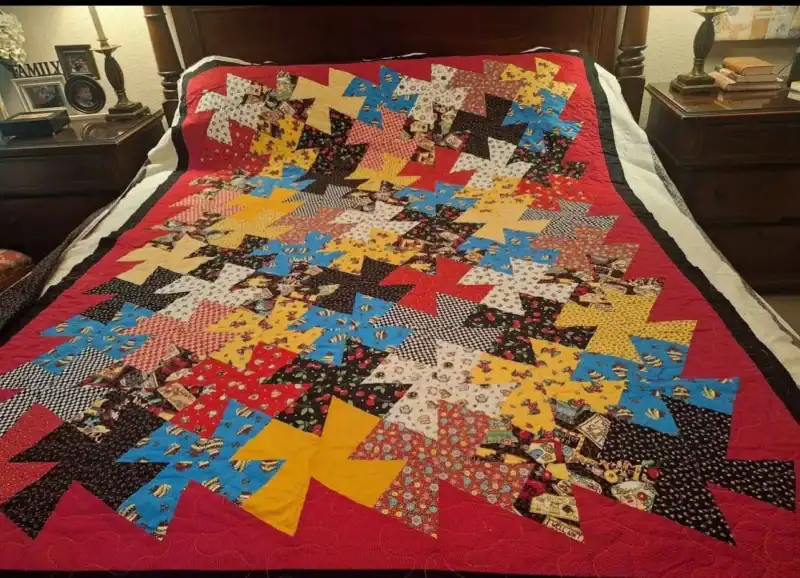
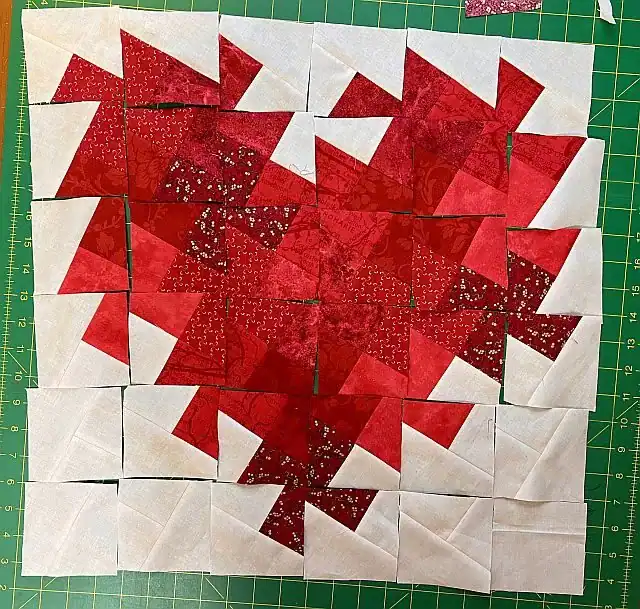
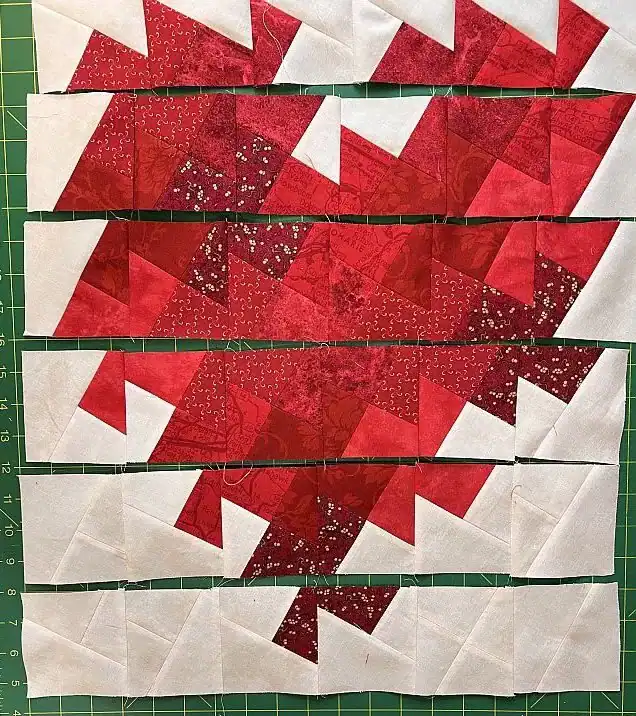
Lay these out in (6) rows of six blocks each, twisting them to match the design. By keeping the light part of the blocks to the outside of the design, you have created the illusion of a floating border. Sew the blocks into rows, then sew the rows into a quilt top. Use pins at the block intersections to keep them lined up. Press from the back so you can fix any twisted seams. (No pun intended.)
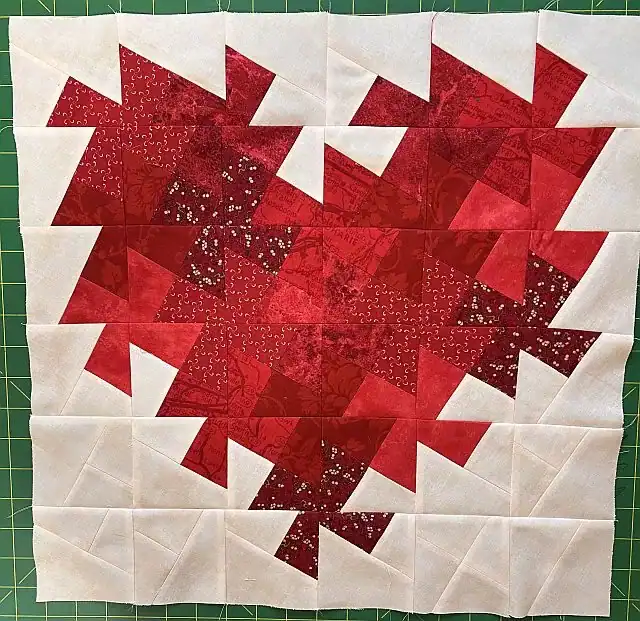
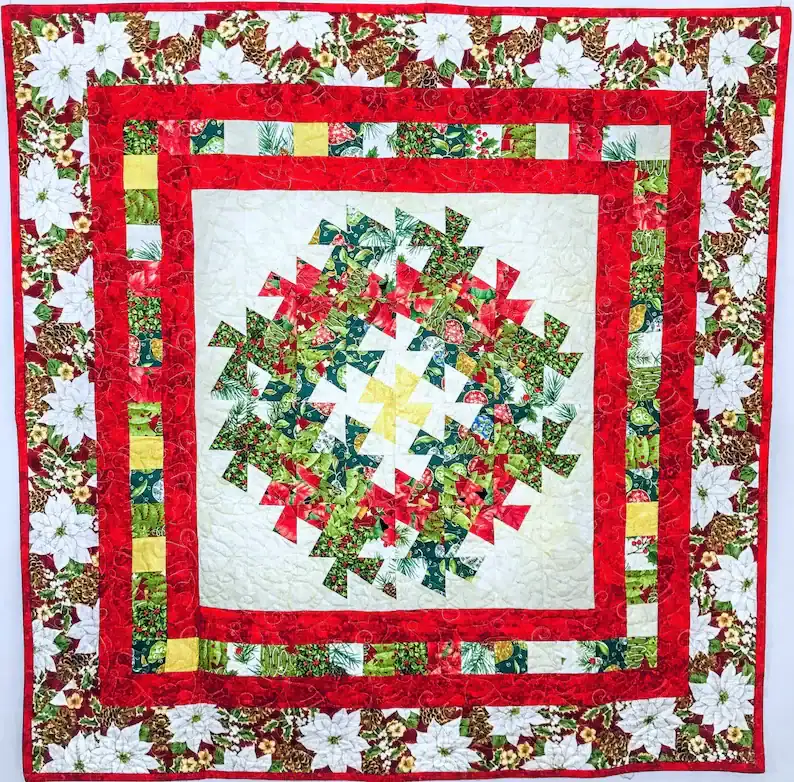
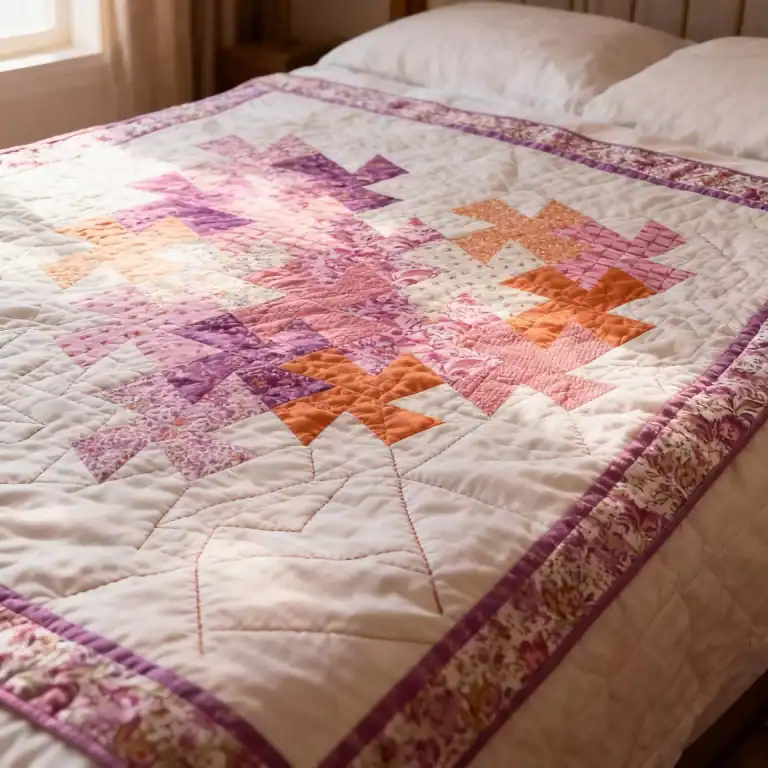
The Hearts Delight pattern then went on to add a red inner border and a Background outer border. That helped keep the design to mini-quilt size. The Madeline quilt, which was made with 10″ squares, added a background floating border before adding a red first border and a print outer border. That helped it become a good lap sized quilt. You can do either one, or something else entirely. This is YOUR quilt. Have fun with it.
More Possibilities